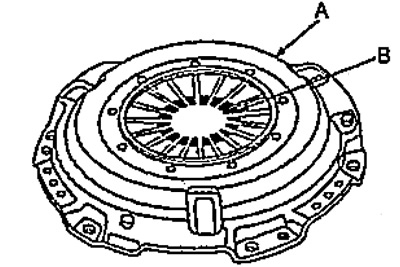
A) Check clutch cover (A) and petals (IN) diaphragm spring for damage, bending or excessive wear.
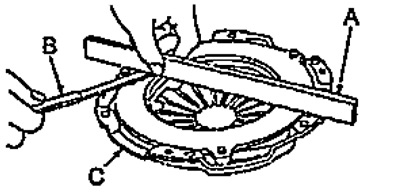
b) Using a ruler (A) and probe (IN), measure the gap between the pressure plate (WITH) and a ruler as shown in the figure.
- Nominal clearance - 0.03 mm
- Maximum clearance - 0.15 mm
V) Install dial gauge (A) to the cylinder block.
G) Turning the flywheel, measure the deviation of the tops of the diaphragm spring petals.
- Nominal deviation from the plane - 0.8 mm
- Maximum deviation from the plane - 1.0 mm
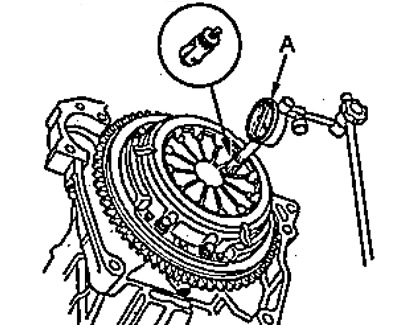
If one of the measured values is out of specification, replace the clutch cover.
2. Check up a conducted disk of coupling.
A) Check the clutch disc for damage, oil stains and signs of overheating.
b) Using a vernier caliper, measure the thickness of the clutch disc.
- Nominal thickness - 7.25 - 7.95 mm
- The minimum allowable thickness is 5.0 mm
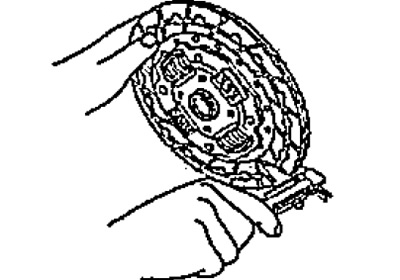
V) Check the thickness of the pads on both sides of the disk in relation to the rivet heads. If the lining thickness is less than the minimum, replace the disc.
- Nominal thickness - 1.1 - 1.6 mm
- The minimum allowable thickness is 0.2 mm
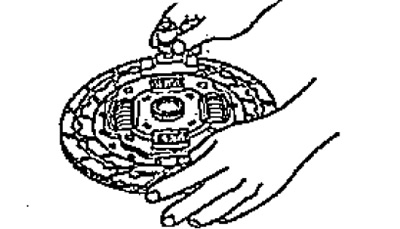
If necessary, replace the clutch disc.
3. Check the flywheel.
A) Check that the flywheel ring gear is not damaged.
b) Check the surface of the flywheel adjacent to the clutch disc for uneven wear, deep grooves and scoring.
V) With a pointer indicator (IN) check flywheel end play (A). If the axial runout exceeds the specified limits, replace the flywheel.
- Rated runout - 0.05 mm
- The maximum allowable runout is 0.15
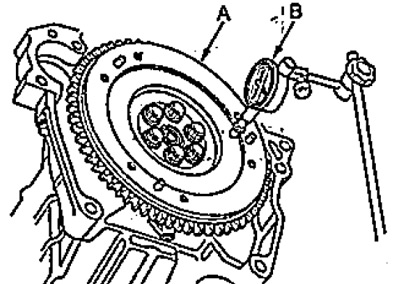
Replace flywheel if necessary.
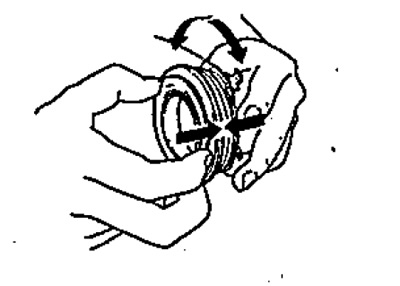
4. Applying axial pressure to the main bearing of the input shaft of the gearbox, turn it. If the bearing is seizing or there is significant resistance to rotation, replace the bearing.
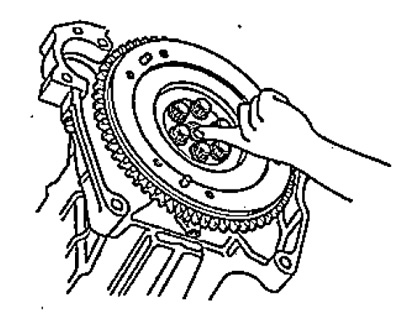
5. Applying axial pressure to the release bearing, rotate it. If the bearing is seizing or there is significant resistance to rotation, replace the bearing.
Note: Do not wash the release bearing in any liquids. The sealed bearing does not require flushing or lubrication.
